Hardelot Golf Pines course - 18 holes
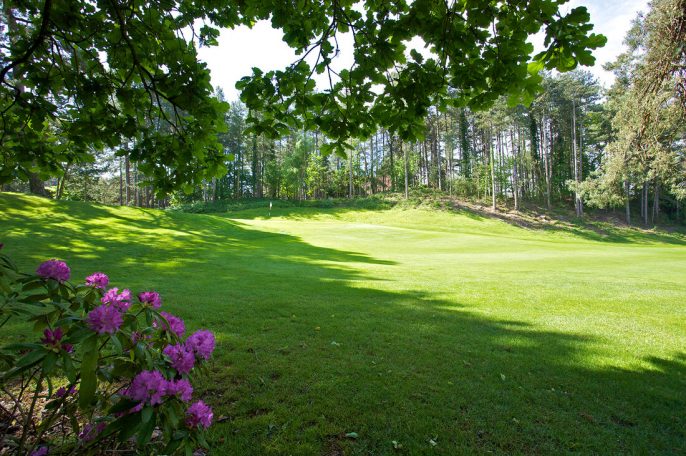
One of Europe’s leading golf courses with a delightful layout through a superb forest
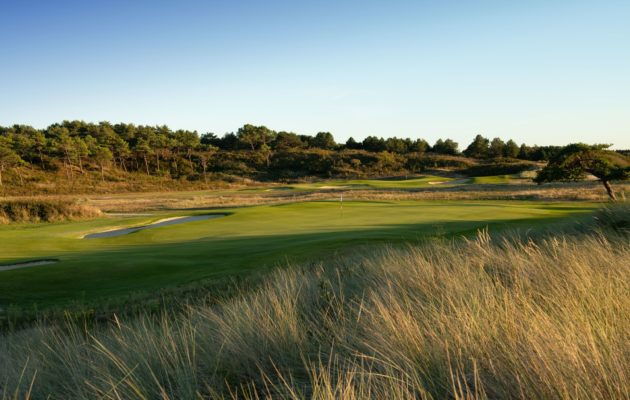
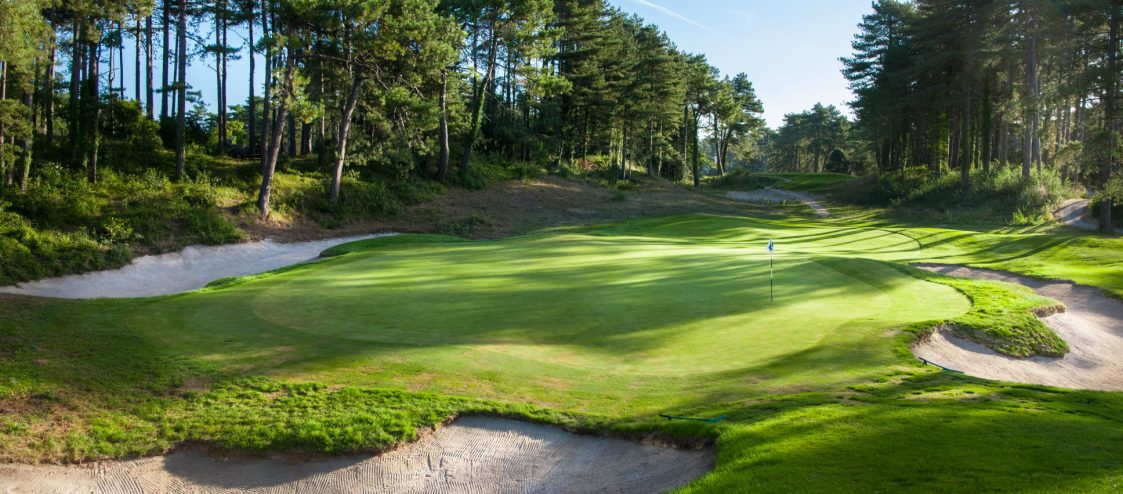
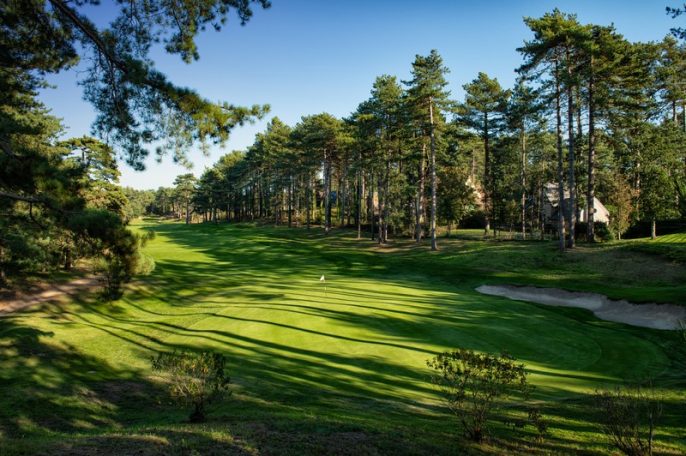
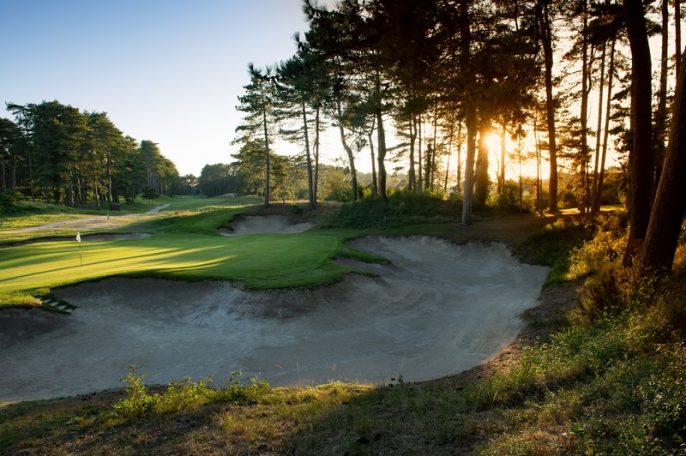
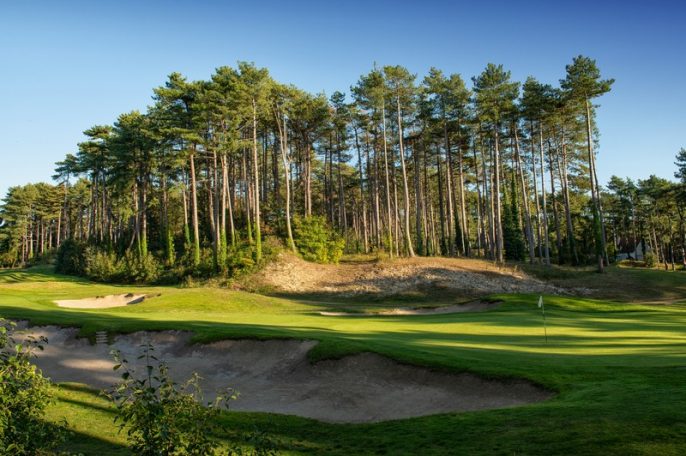
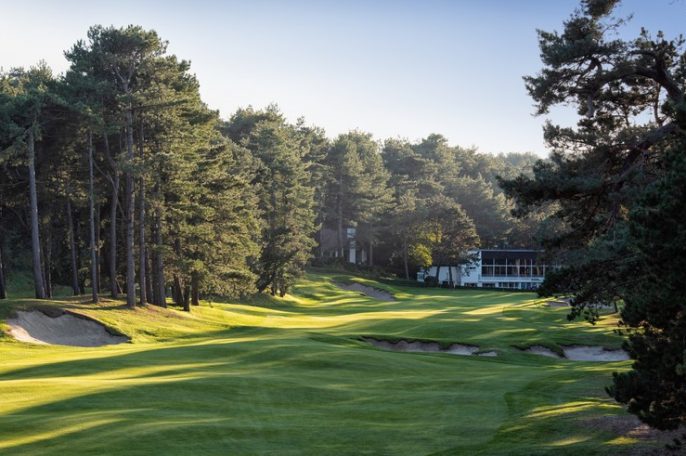
The 18-hole golf course Hardelot Pines is a stunning masterpiece designed by Tom Simpson. You’ll play on pine tree-lined fairways that weave their way through sand dunes and the Hardelot national forest. Its original 1934 layout has been meticulously restored to enhance its simple, subtle British style with its sophisticated green contours and notoriously tricky bunker edges.
The golf course in details
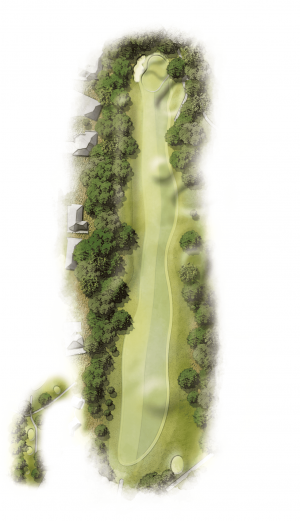
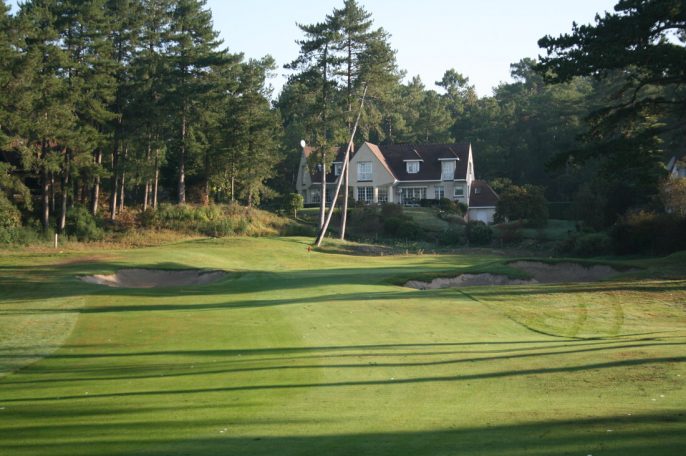
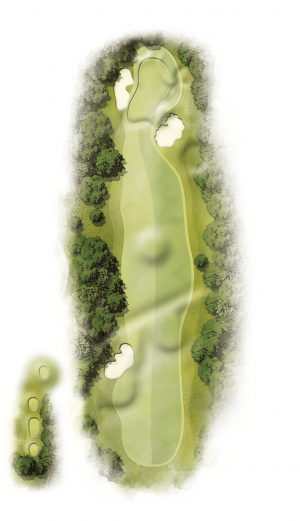
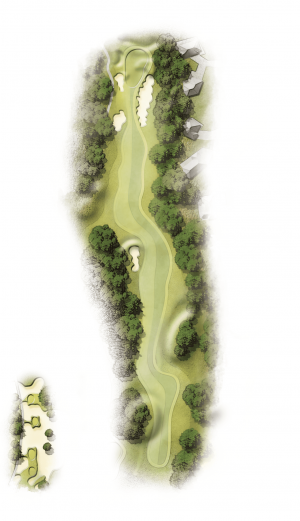
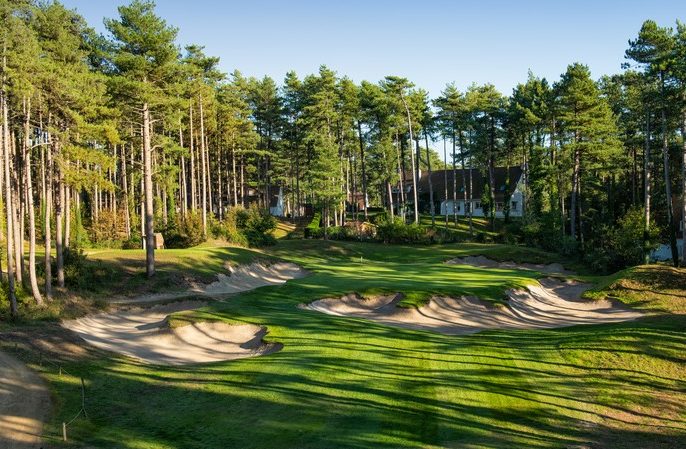
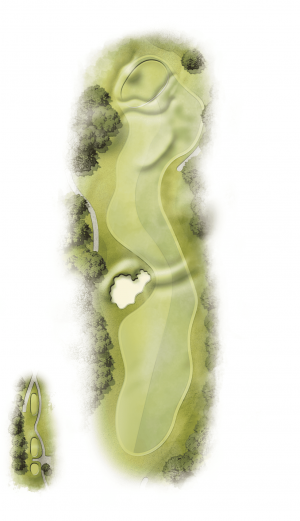
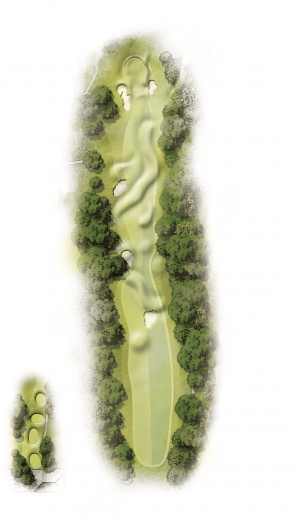
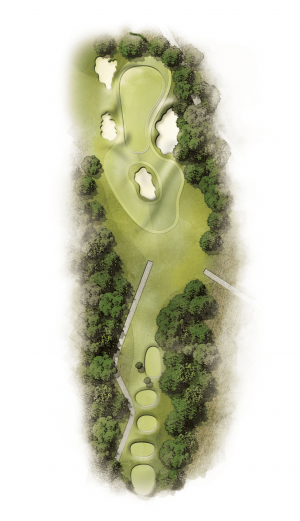
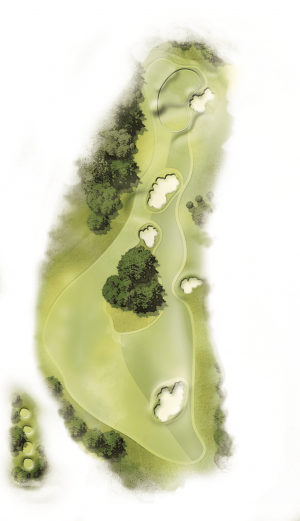
Hole n°1

- PAR 5
- HCP 5
- White 493
- Yellow 471
- Blue 436
- Red 392
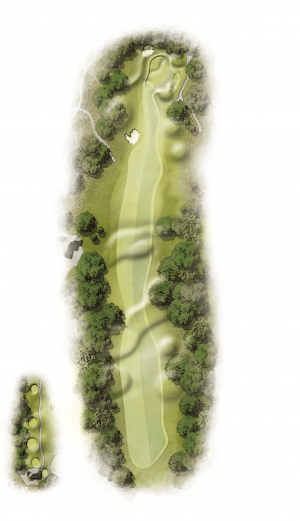
Pro Advice
Don’t panic on the second stroke: position yourself between the bunker and the large pine tree on the right, which is only 125 m from the green.
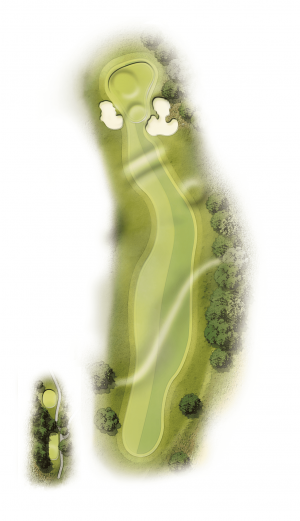
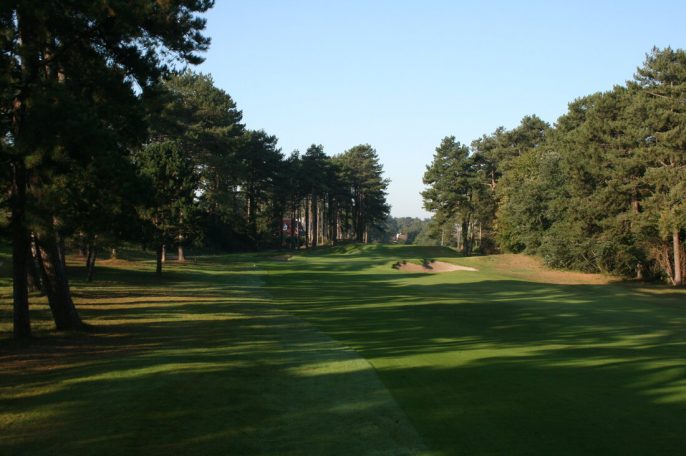
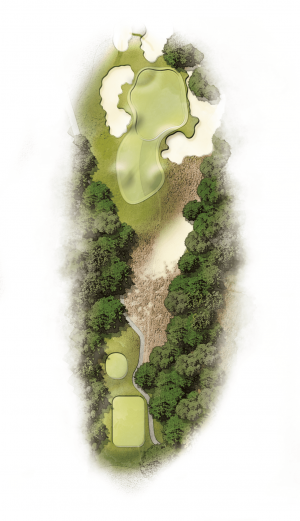
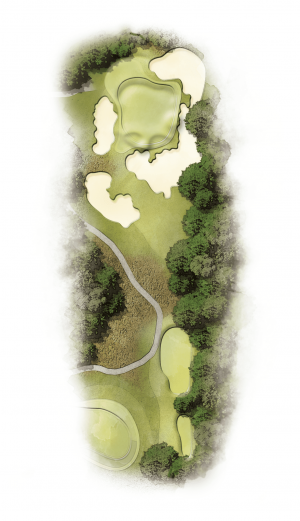
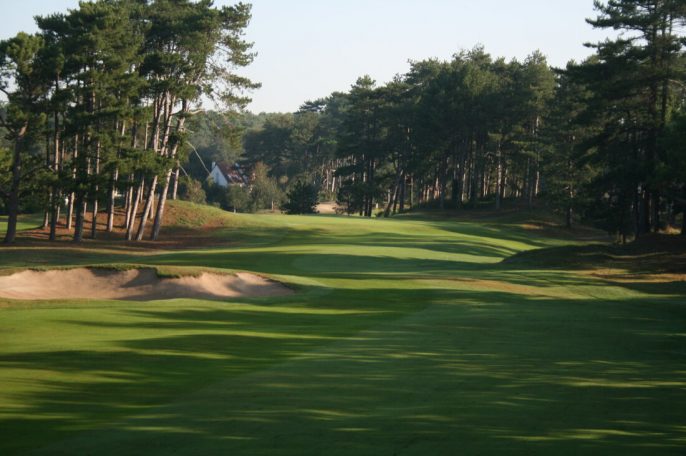
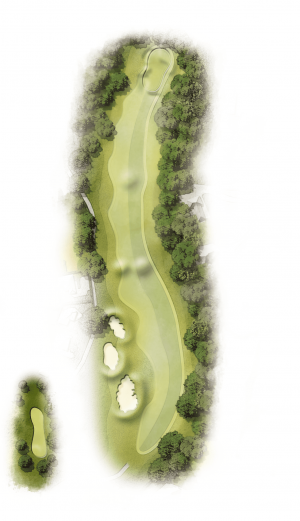
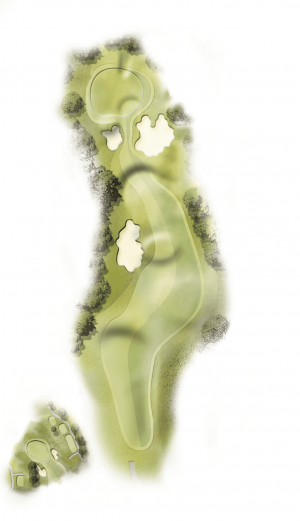
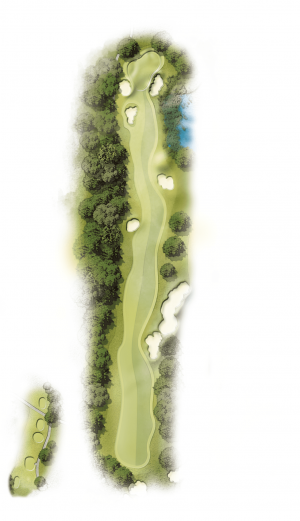
Hole n°2
- PAR 5
- HCP 13
- White 454
- Yellow 421
- Blue 373
- Red 348
Pro Advice
There’s often a headwind at this former par 5 and you’ll need patience and tolerance to reach the double plateau green, whose short right-hand section will have you playing downhill.
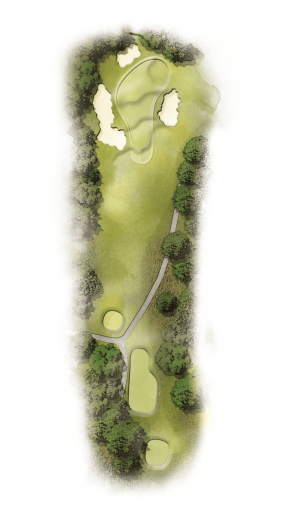
Hole n°3
- PAR 4
- HCP 8
- White 333
- Yellow 314
- Blue 289
- Red 283
Pro Advice
A short par 4 where you shouldn’t hesitate to attack the back of the “inverted plateau” green, even if the flag is short.
Hole n°4
- PAR 4
- HCP 7
- White 356
- Yellow 336
- Blue 315
- Red 290
Pro Advice
After avoiding the fairway bunker, you should be careful when attacking the diagonal green (short to the left, long to the right). Your choice of club will be crucial.
Hole n°5
- PAR 3
- HCP 17
- White 123
- Yellow 118
- Blue 113
- Red 96
Pro Advice
Aim for the middle of the green and all will be well.
Hole n°6
- PAR 5
- HCP 4
- White 455
- Yellow 435
- Blue 395
- Red 367
Pro Advice
A superb par 5 where big hitters can reach the green in two if they don’t get stuck on the left side (and risk having to take a very tricky second shot). To adjust, stay slightly back from the dune. A second shot on the left side is often the way to go.
Hole n°7
- PAR 3
- HCP 18
- White 130
- Yellow 106
- Blue 91
- Red 87
Pro Advice
Don’t be greedy here – the bunkers are dangerous. Aim for the middle of the green.
Hole n°8
- PAR 4
- HCP 11
- White 309
- Yellow 293
- Blue 287
- Red 255
Pro Advice
Stay in front of the bunker or go over it if you’re a big hitter. Be careful – the narrow entry to the green will bring you back down. It’s best to attack in the right half, where it’s deeper.
Hole n°9
- PAR 4
- HCP 1
- White 368
- Yellow 326
- Blue 317
- Red 308
Pro Advice
Big hitters should stay as far left as possible. For the rest, aim for the small tree behind the right-hand bunker. Take care with your second shot – attacking the green from the right is tricky. Keep your eye on the prize by always staying short. If you reach the green in three, position yourself at a distance you like – the narrow green is tricky.
Hole n°10
- PAR 5
- HCP 14
- White 472
- Yellow 447
- Blue 424
- Red 402
Pro Advice
A birdie par 5, but there’s a small bunker in the middle of the fairway waiting to welcome the best drives.
Hole n°11
- PAR 4
- HCP 10
- White 285
- Yellow 272
- Blue 238
- Red 218
Pro Advice
Play it like two successive par 3s by placing your first shot to the right of the bunker at your preferred distance from the green.
Hole n°12
- PAR 3
- HCP 15
- White 155
- Yellow 138
- Blue 127
- Red 116
Pro Advice
Remember to attack the back of the green by bringing the right-hand route into play, as it’s at an angle.
Hole n°13
- PAR 5
- HCP 3
- White 499
- Yellow 468
- Blue 453
- Red 423
Pro Advice
A long par 5! After hitting your best drive, play your second shot towards the small fairway bunker on the right, or if you’re a big hitter, attack the green from the left to protect yourself from the penalty area on the right.
Hole n°14

- PAR 3
- HCP 16
- White 146
- Yellow 120
- Blue 109
- Red 91
Pro Advice
Don’t be greedy when the flags are left or right. Protect yourself from the bunkers by playing your shot onto the top plateau.
Hole n°15
- PAR 4
- HCP 6
- White 326
- Yellow 310
- Blue 292
- Red 275
Pro Advice
Short and attractive, this is Hardelot’s former signature dogleg. Play its original line by keeping left of the copse or slice it straight without worrying about the bunkers (they’re harmless when they’re hard). Take care when you attack the green and stay left to protect yourself from the dangerous bunker on the right.
Hole n°16
- PAR 5
- HCP 12
- White 430
- Yellow 410
- Blue 390
- Red 349
Pro Advice
A former par 5 that will give you a hard time. Play long and left when you attack the green if you don’t want your ball to roll all the way back down again.
Hole n°17
- PAR 3
- HCP 9
- White 165
- Yellow 150
- Blue 144
- Red 110
Pro Advice
Although the left of the green looks intimidating, it offers quite an easy uphill approach if you’re not too greedy. The right of the green is easier at first glance, but this downhill shot may require a putter because of the sandy lie.
Hole n°18
- PAR 4
- HCP 2
- White 412
- Yellow 386
- Blue 358
- Red 341
Pro Advice
A superb finish on this former par 4. Big hitters should beware of the fairway bunkers on the rare occasions there is no headwind. Don’t worry if you miss the short green – its slight elevation offers an open approach.
NEARBY Resonance Golf Collection GOLF CLUBS